QGIS has a powerful programming interface that allows you to extend the
core functionality of the software as well as write scripts to automate
your tasks. QGIS supports the popular Python scripting language. Even if
you are a beginner, learning a little bit of Python and QGIS programming
interface will allow you to be much more productive in your work. This
tutorial assumes no prior programming knowledge and is intended to give
an introduction to python scripting in QGIS (PyQGIS).
This tutorial is based on “QGIS Tutorials and Tips
v1.0” by Ujaval Gandhi, updated
to use Python 3 and QGis 3 by Ian Turton.
We will load a vector point layer representing all major airports and
use python scripting to create a text file with the airport name,
airport code, latitude and longitude for each of the airport in the
layer.
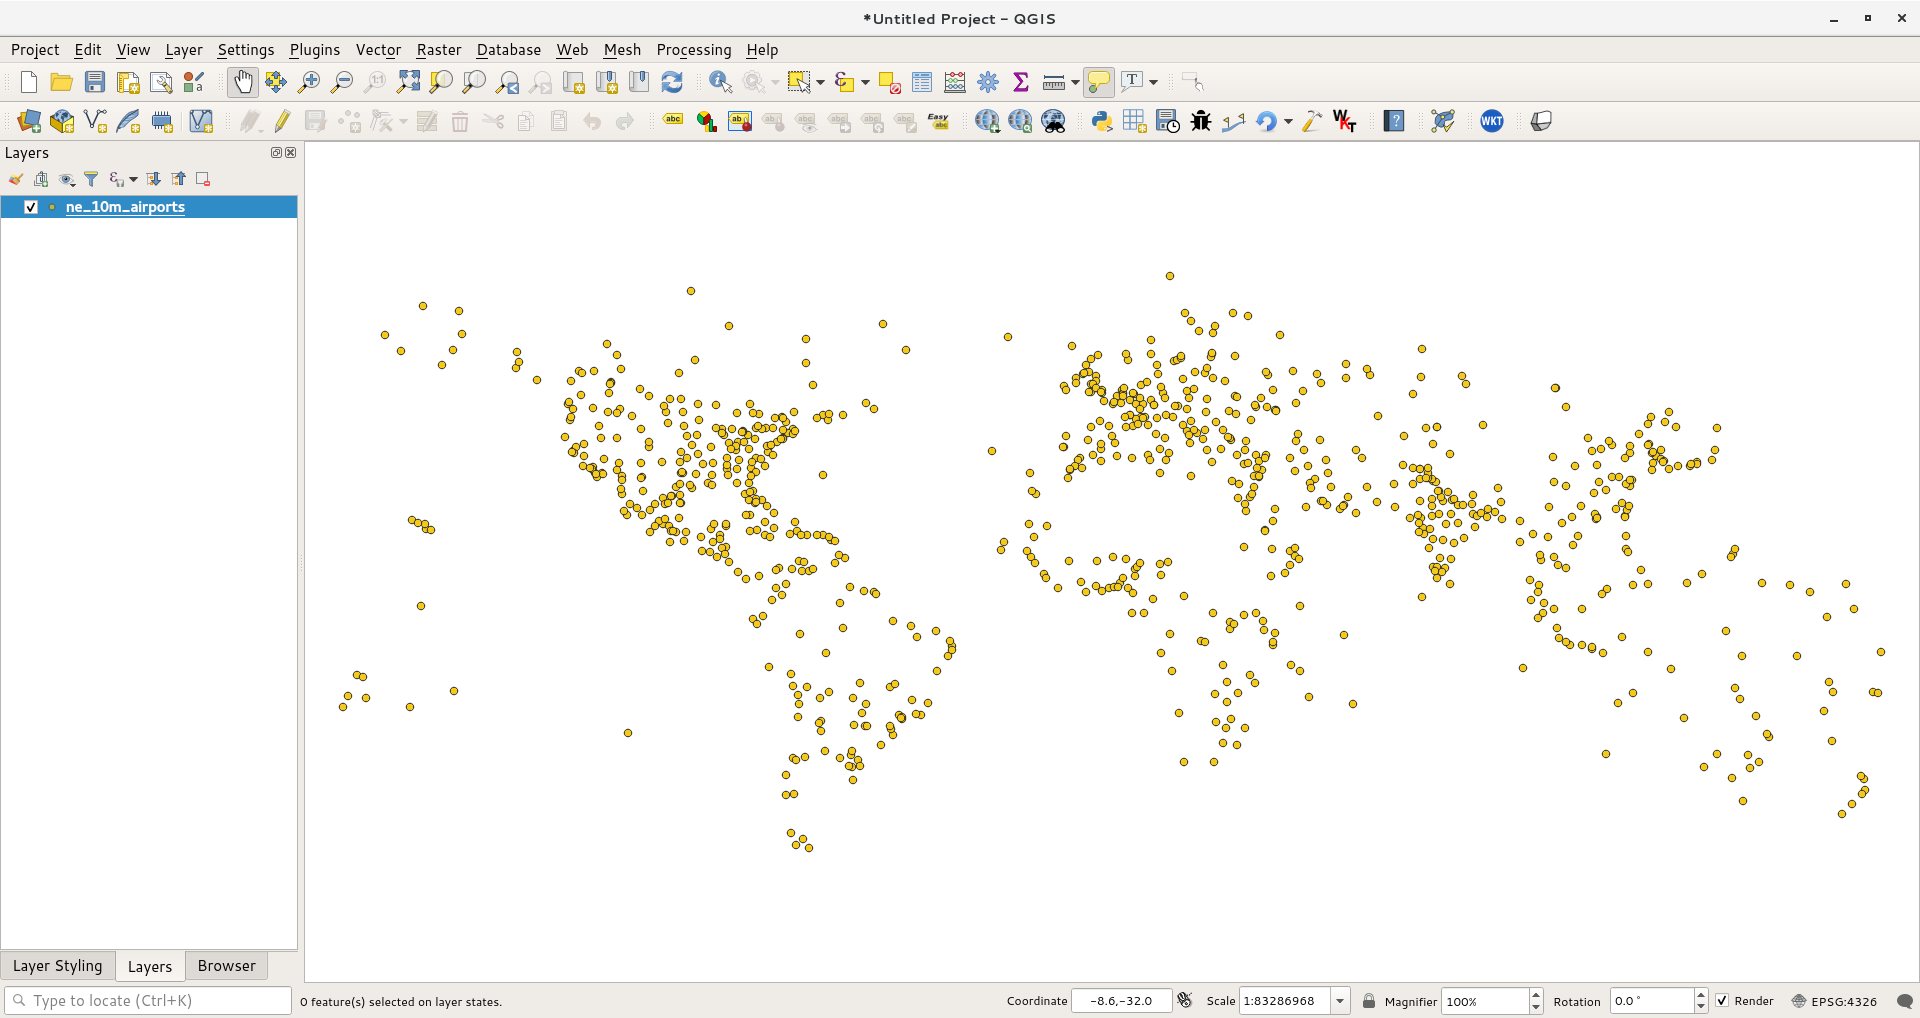
In QGIS, go to Layers –> Add Vector Layer. Browse to the downloaded
ne_10m_airports.zip file and click Open. Select the
ne_10m_airports.shp layer and click OK. Or drag and drop the
.zip or .shp file into the map window.
You will see the ne_10m_airports layer loaded in QGIS.
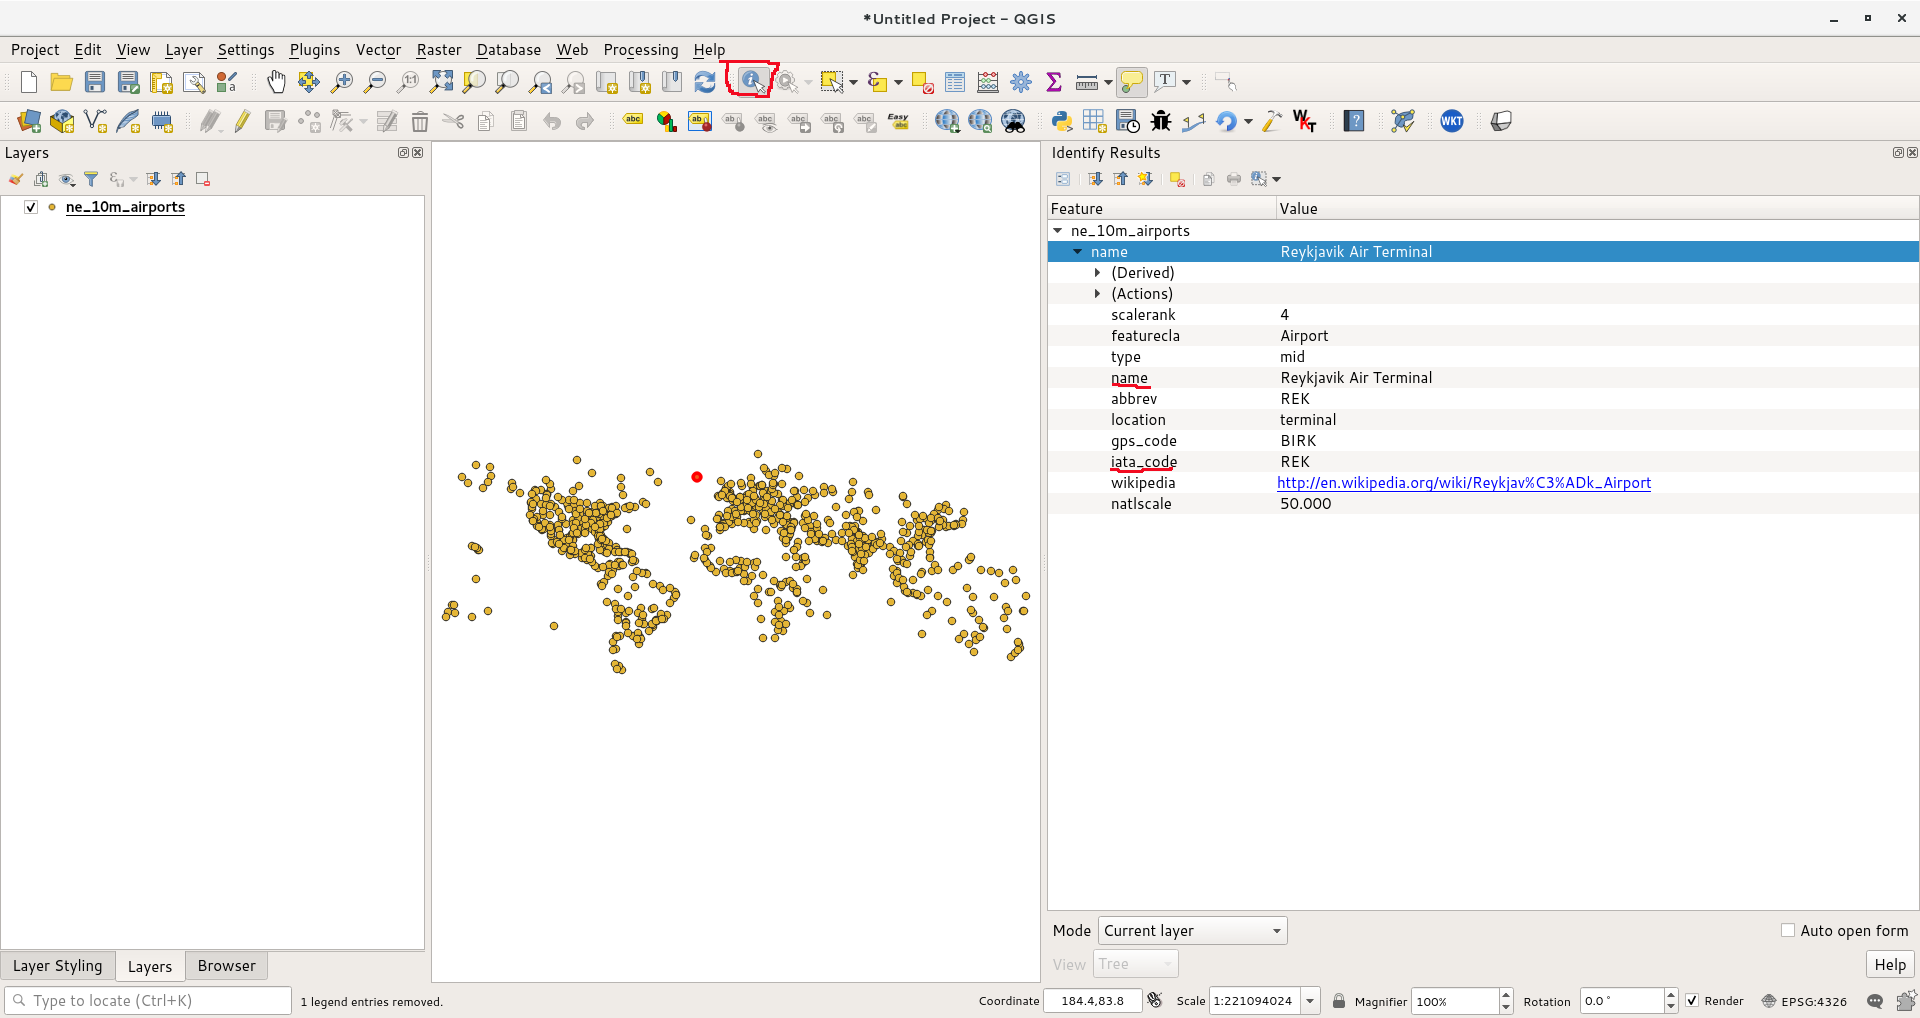
Select the Identify tool and click on any of the points to examine
the available attributes. You will see that the name of the airport
and it’s 3 digit code are contained in the attributes name and
iata_code respectively.
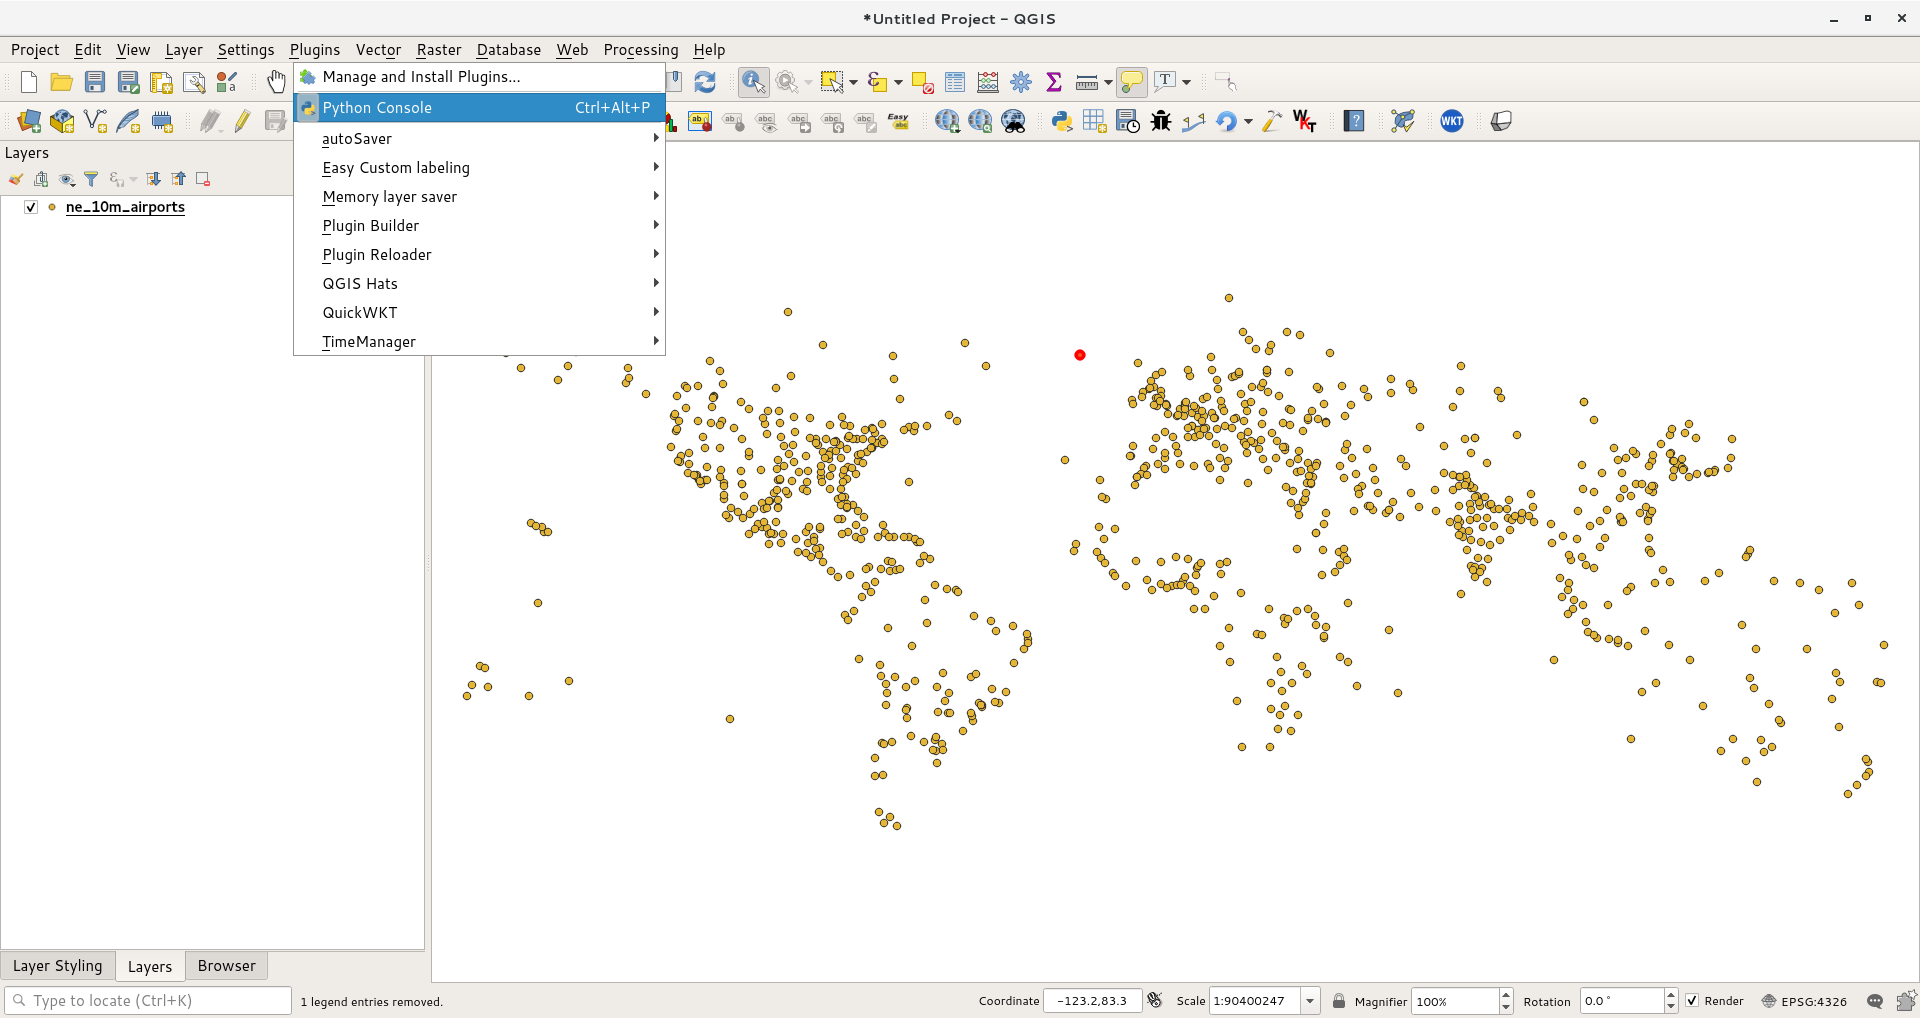
QGIS provides a built-in console where you can type python commands
and get the result. This console is a great way to learn scripting
and also to do quick data processing. Open the Python Console by
going to Plugins –> Python Console.
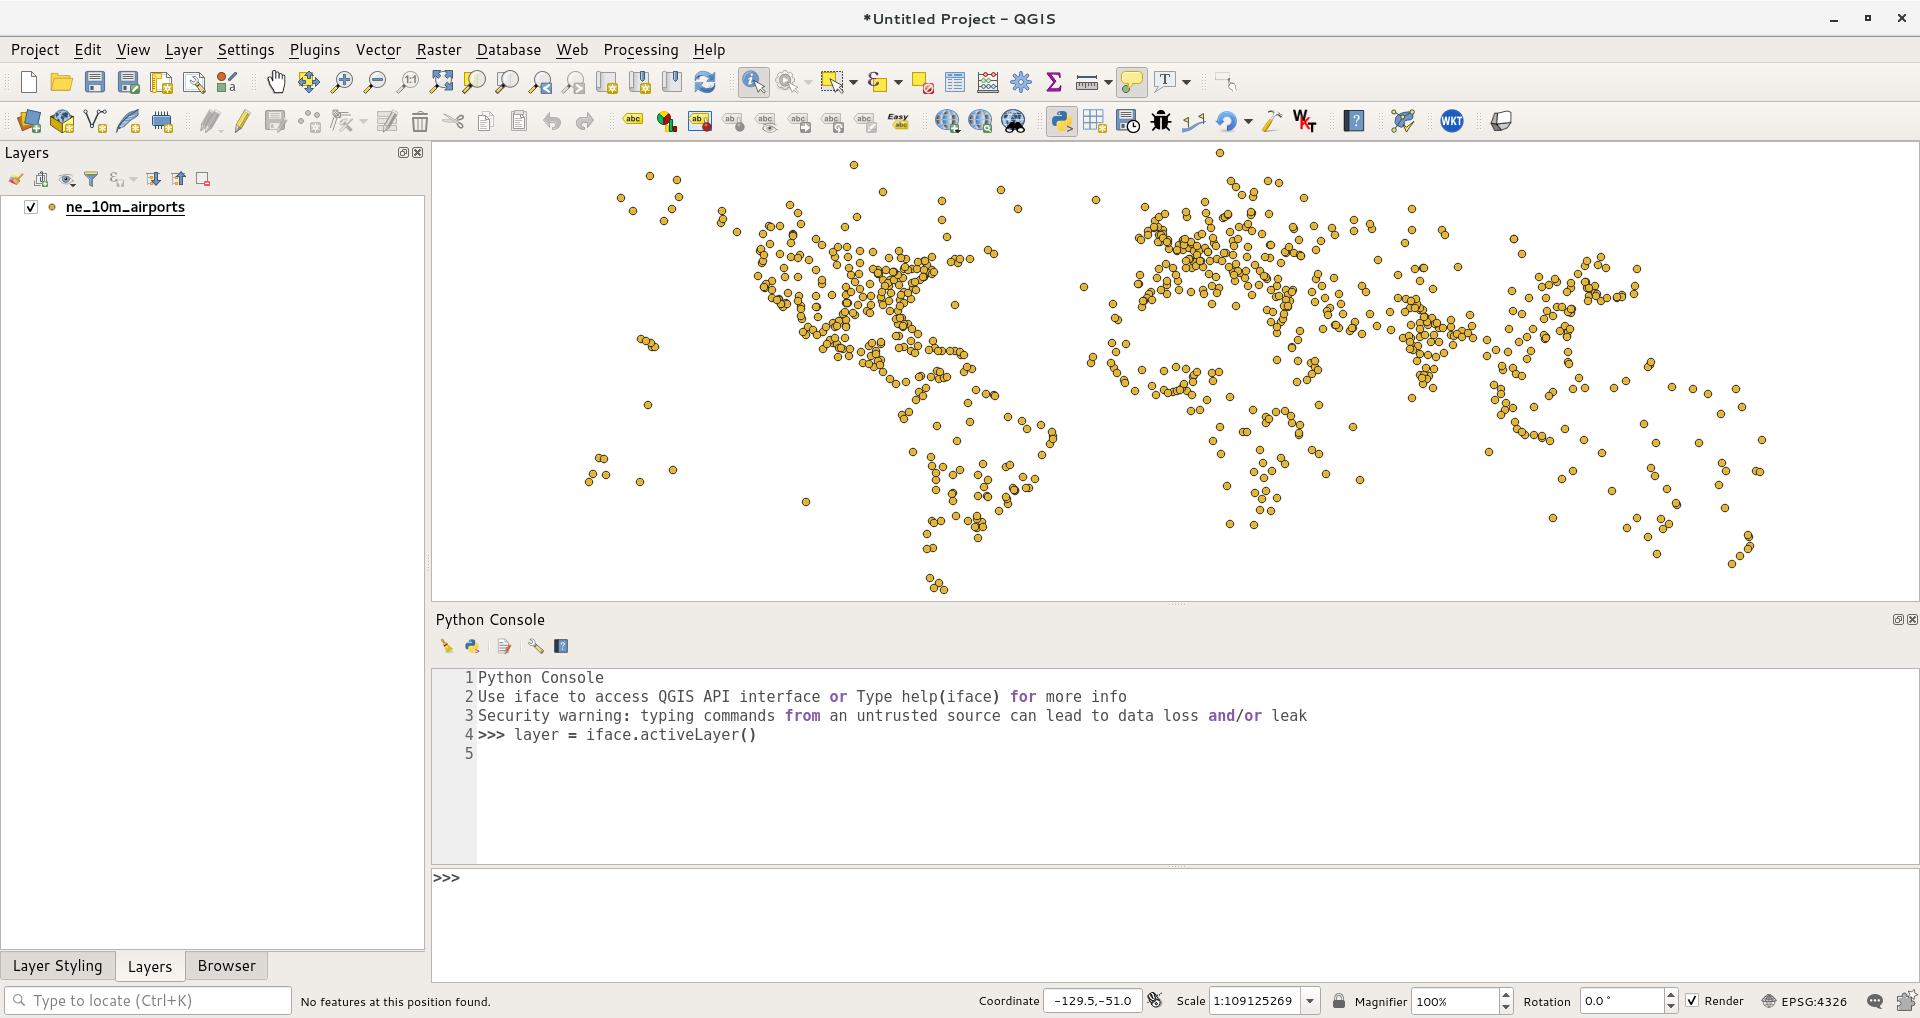
You will see a new panel open at the bottom of QGIS canvas. You will
see a prompt like >>> at the bottom where you can type commands.
For interacting with the QGIS environment, we must use the iface
variable. To access the currently active layer in QGIS, you can type
the following and press Enter. This command fetches the reference to
the currently loaded layer and stores it in the layer variable.
Note
You can call your variable anything you like instead of layer if you
prefer. Python attaches no special meaning to a variable based on its
name. However, good practice is to make your variable names meaningful.
You never want to come back to a script in a months time and have to try
and work out what is stored in fred.
layer=iface.activeLayer()
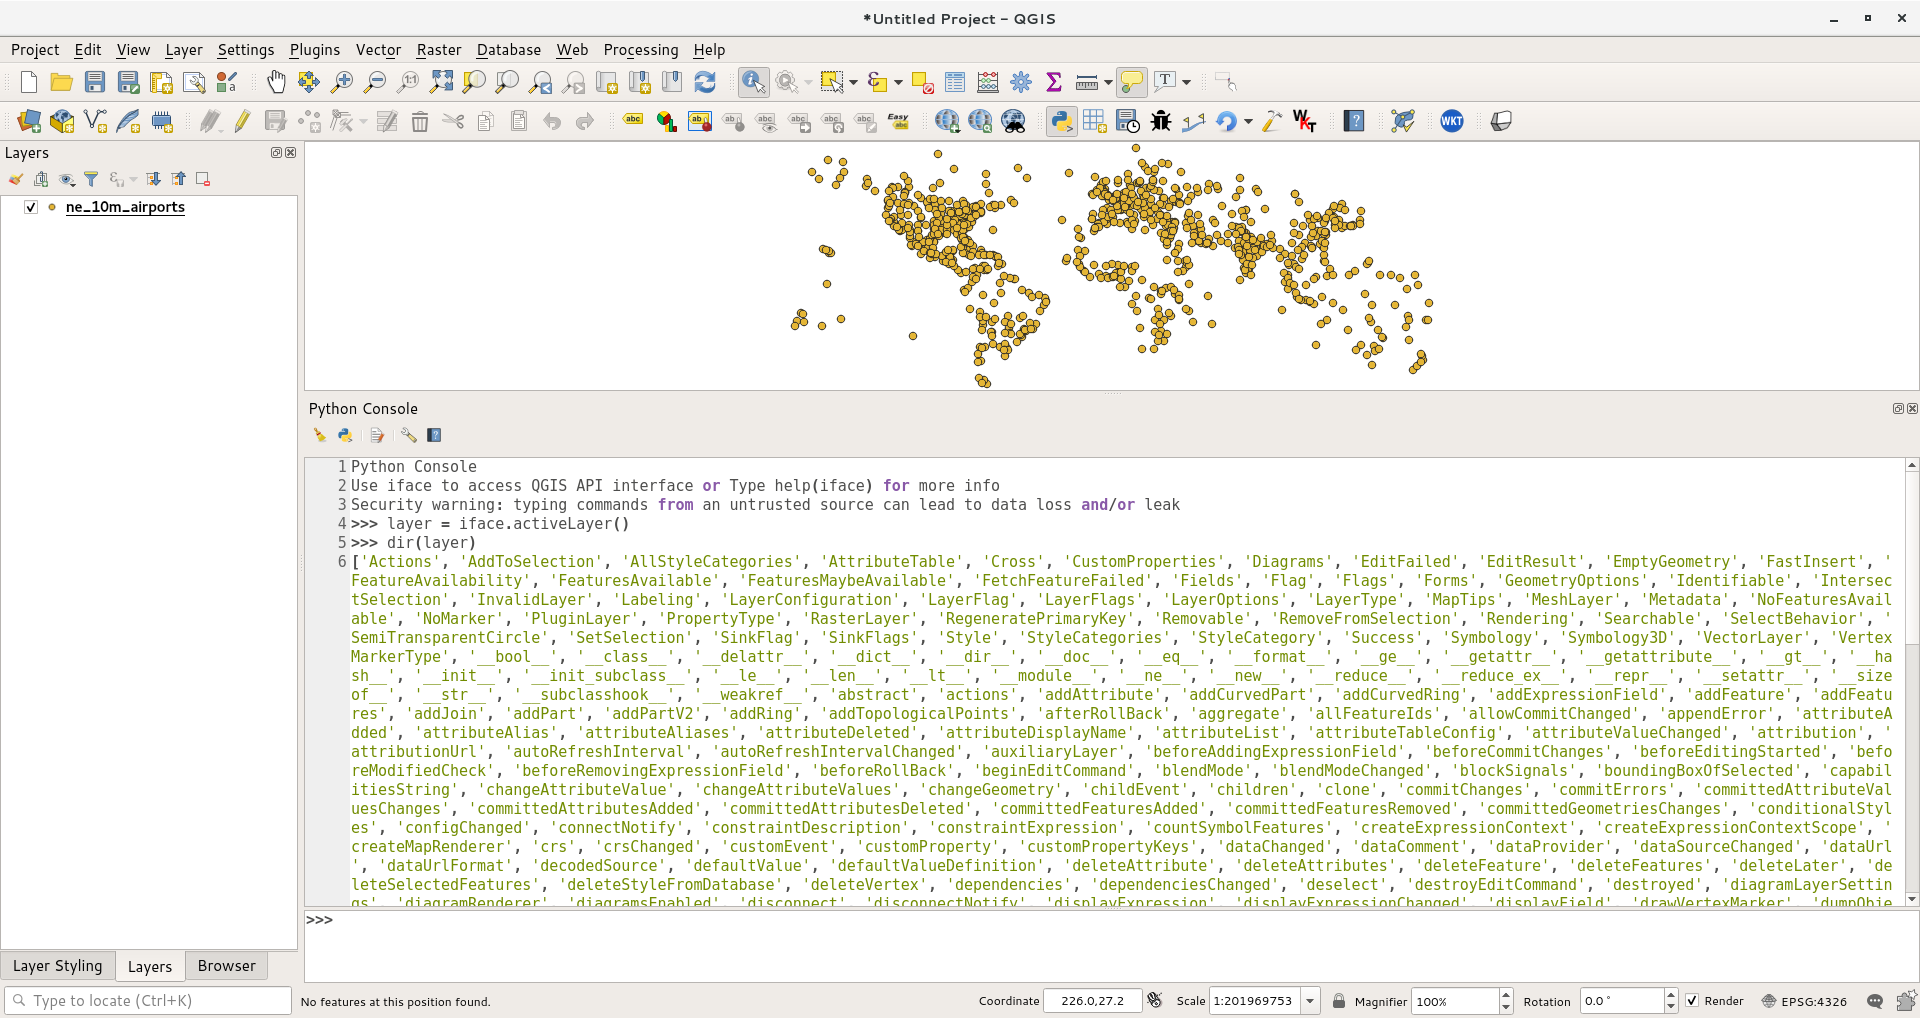
There is a handy function called dir() in python that shows you
all available methods for any object. This is useful when you are
not sure what functions are available for the object. Run the
following command to see what operations we can do on the layer
variable.
dir(layer)
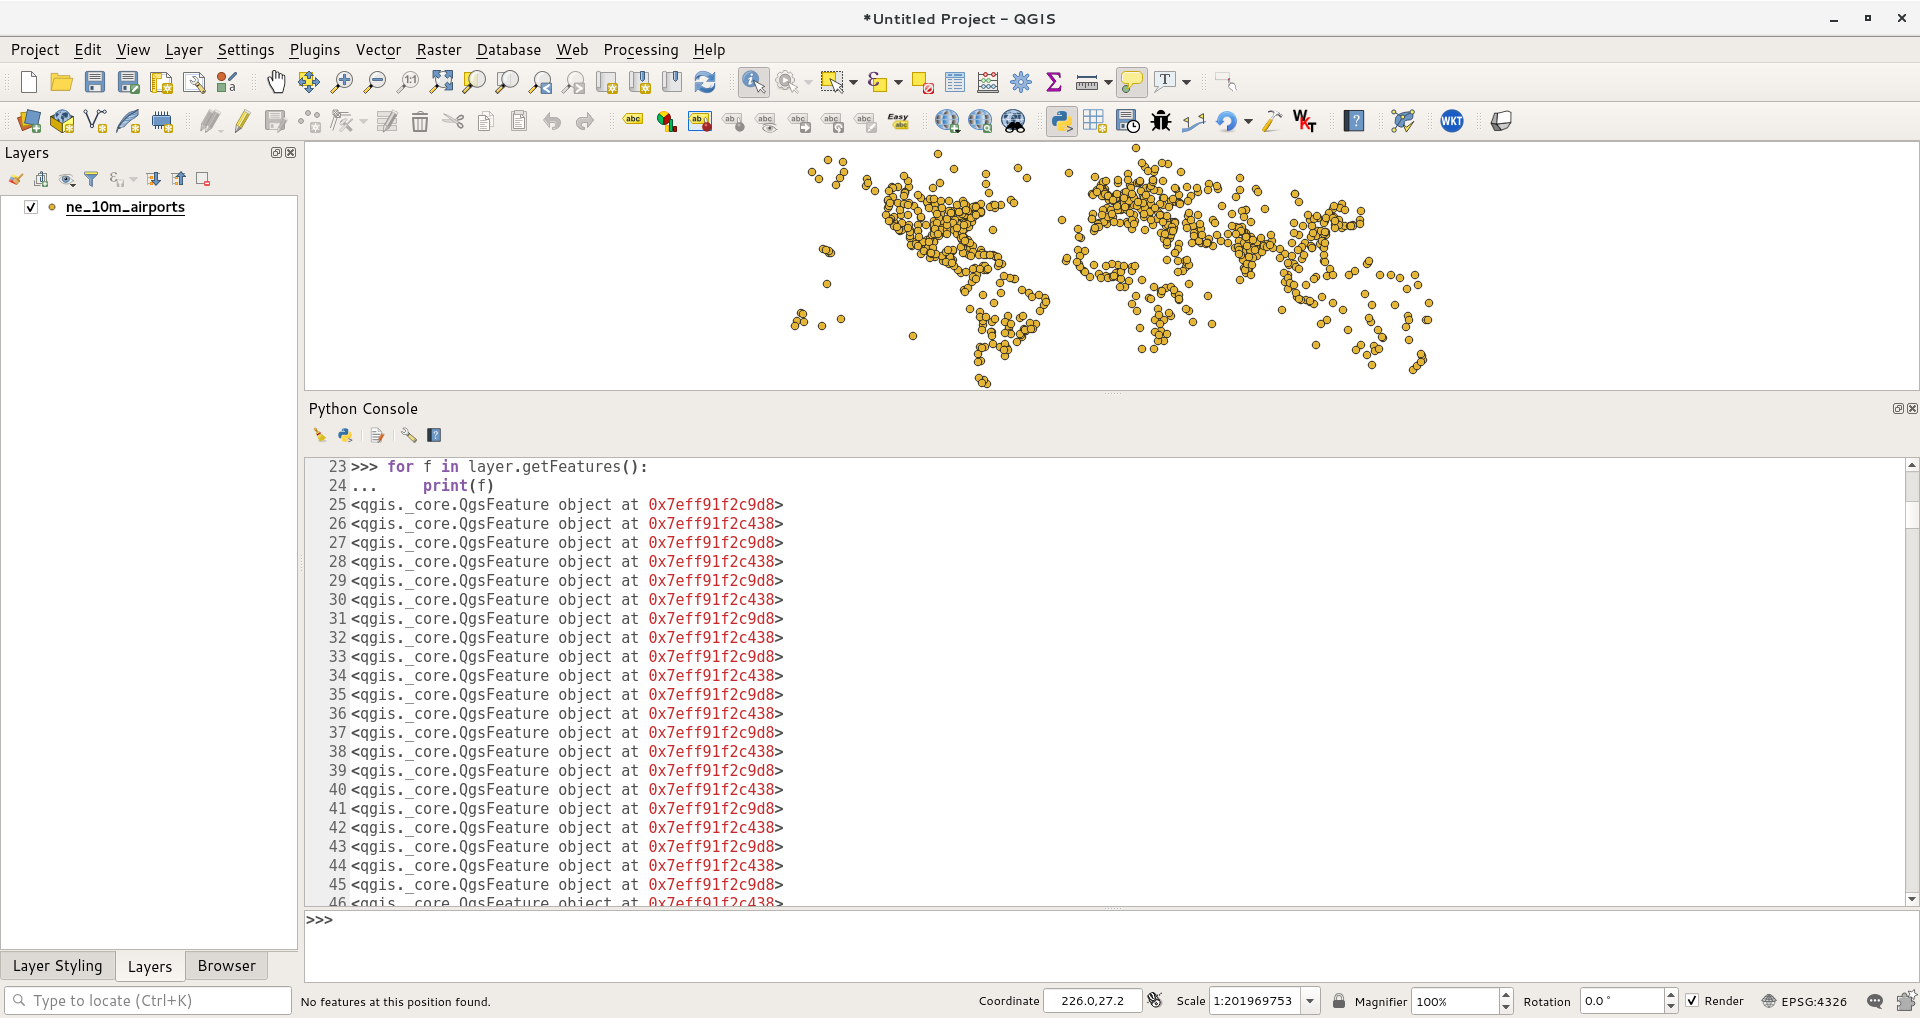
You will see a long list of available functions. For now, we will
use a function called getFeatures() which will gets you the
reference to all features of a layer. In our case, each feature will
be a point representing an airport. You can type the following
command to iterate through each of the features in the current
layer. Make sure to add 2 spaces before typing the second line.
forfeatureinlayer.getFeatures():print(feature)
As you will see in the output, each line contains a reference to a
feature within the layer. The reference to the feature is stored in
the feature variable. We can use the feature variable to access the
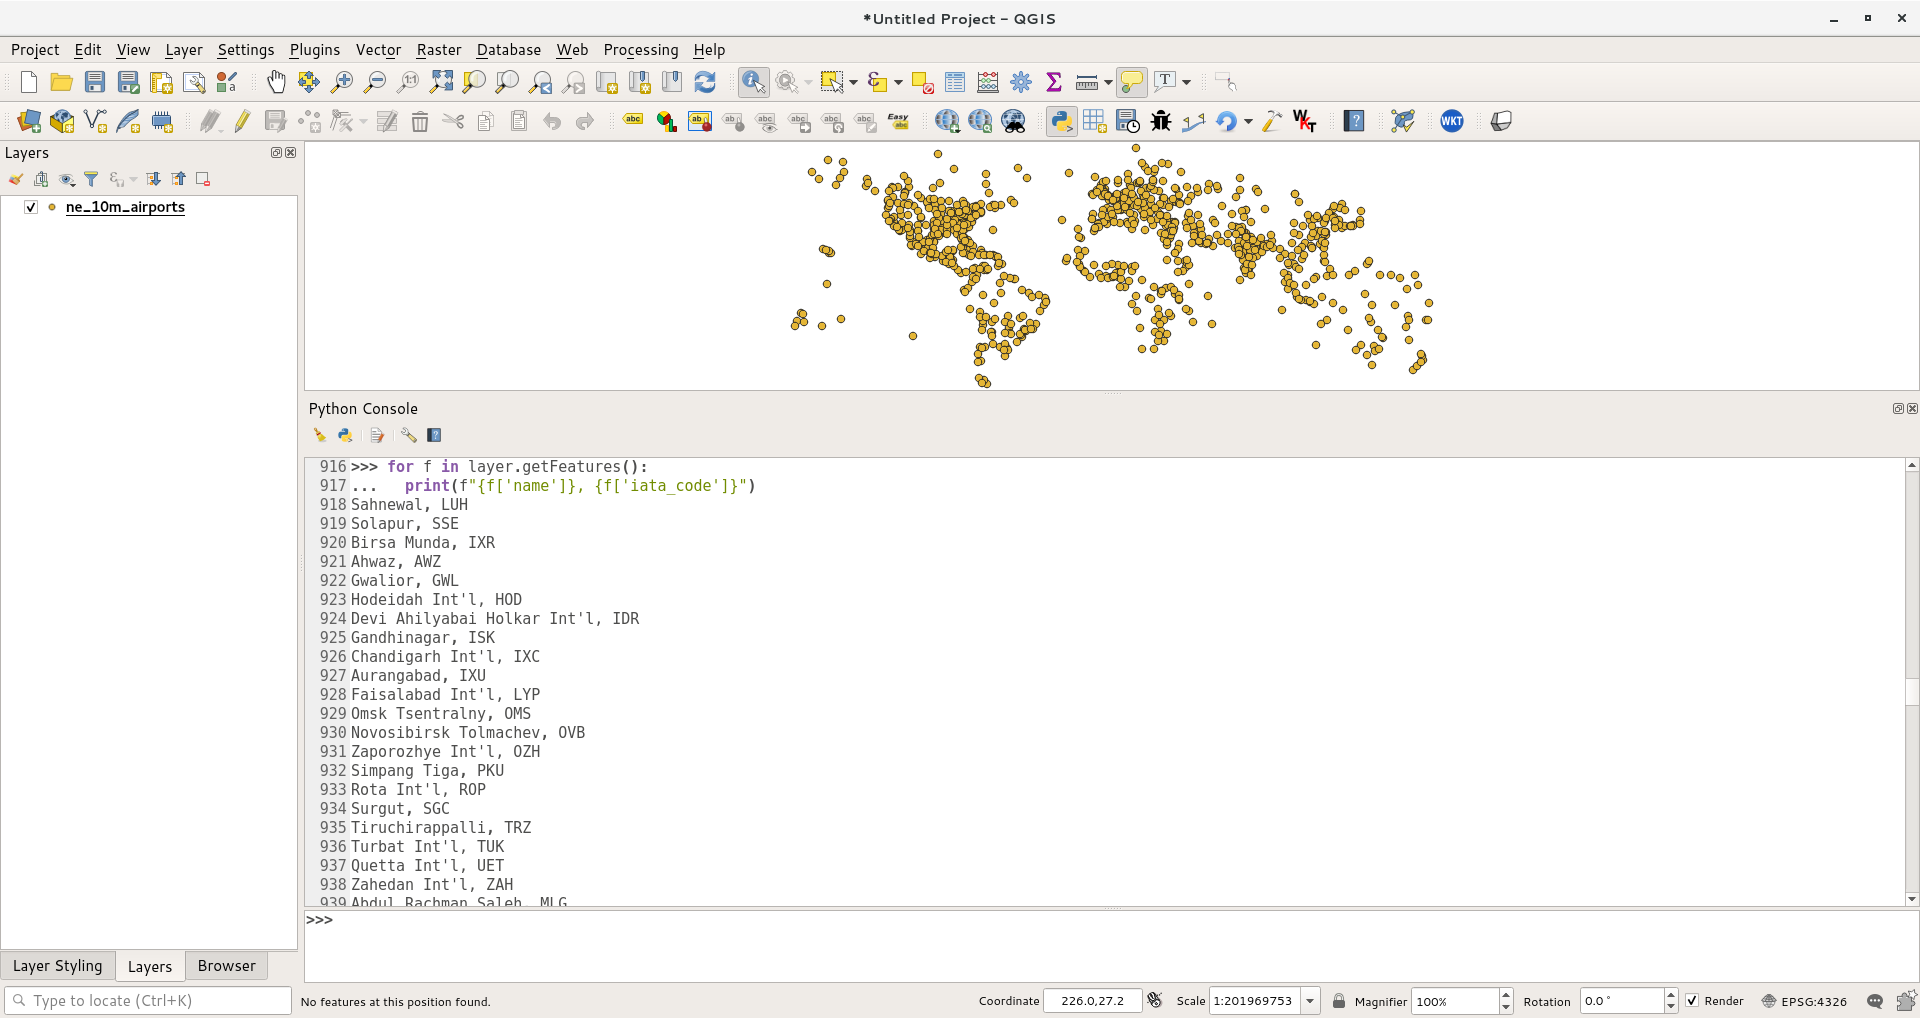
attributes of each feature. Type the following to print the name
and iata_code for each airport feature. The second line substitutes
the values of the variables feature['name'] and feature['iata_code']
into the string on the left, replacing the %s with the value for each
feature in turn.
Note
Again you can call the feature variable anything, so the for loop could
become forairportinairports.getFeatures(): if you prefer. But you
must be consistent all the way through the program. So, if you called the
layer layer it must still be known as layer here.
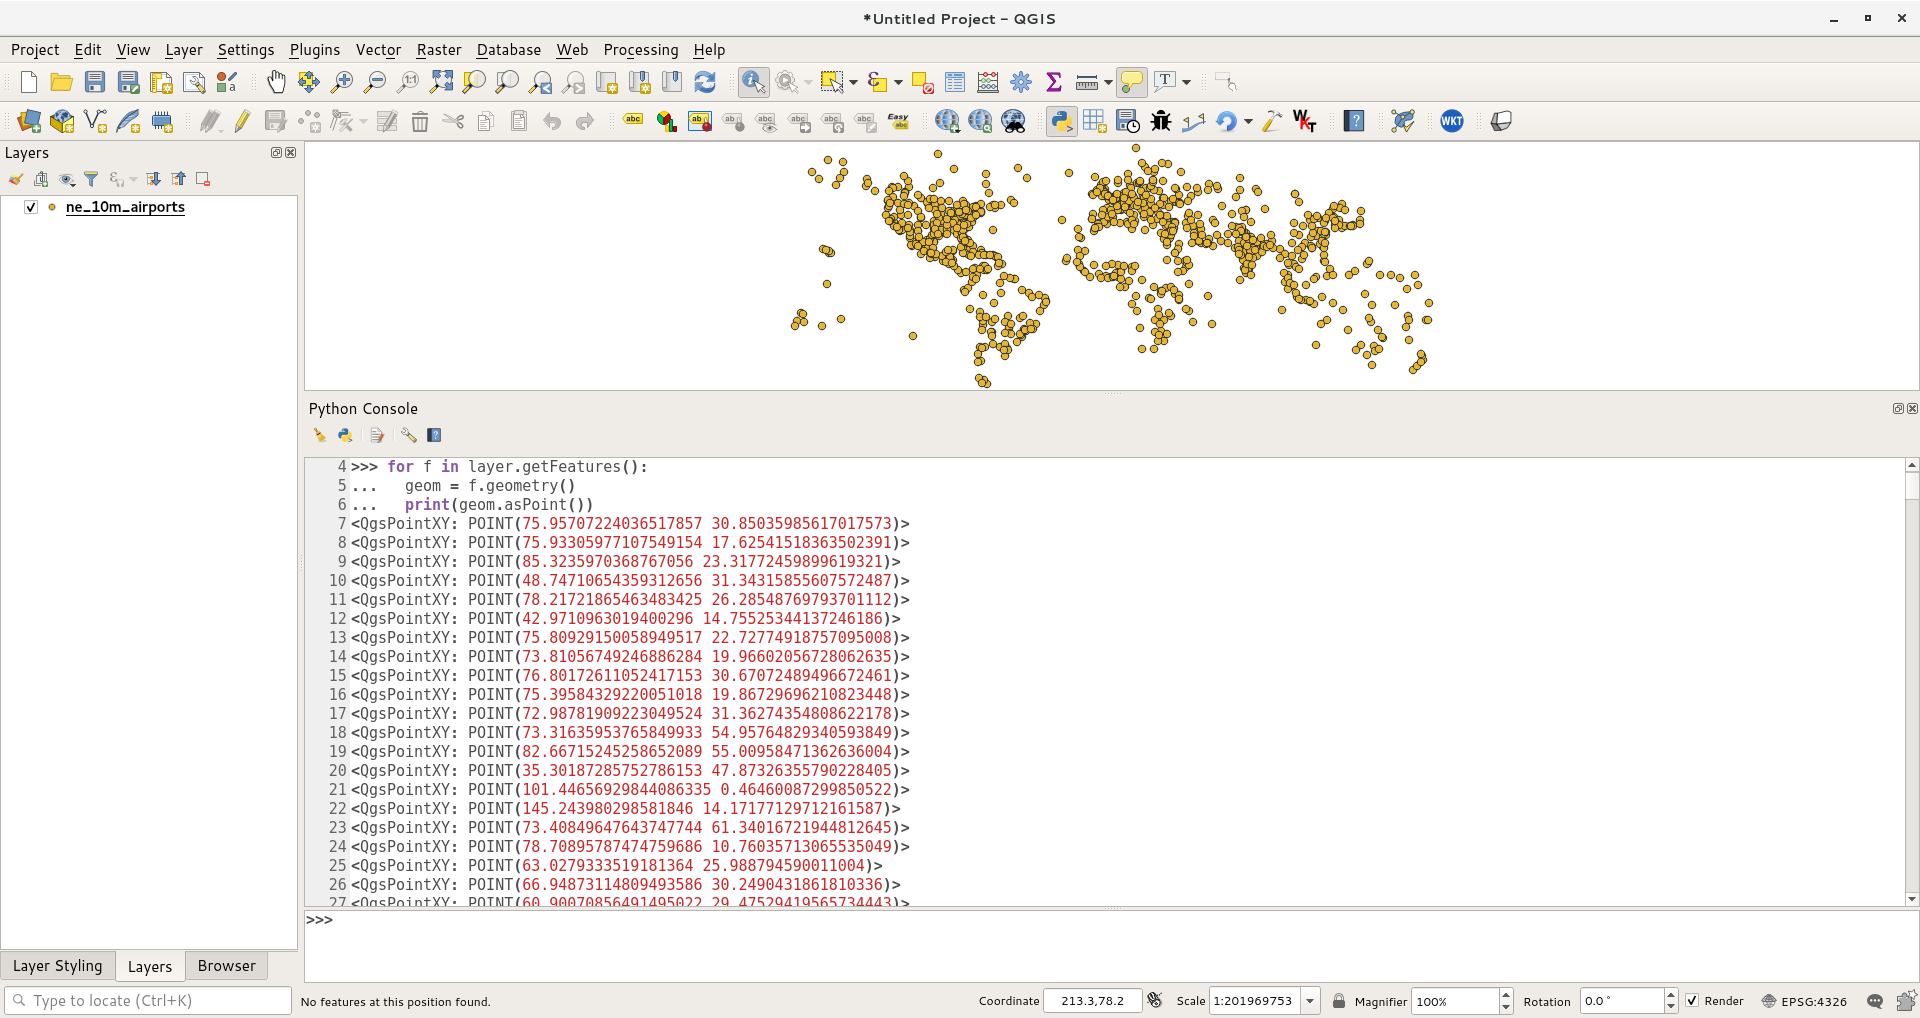
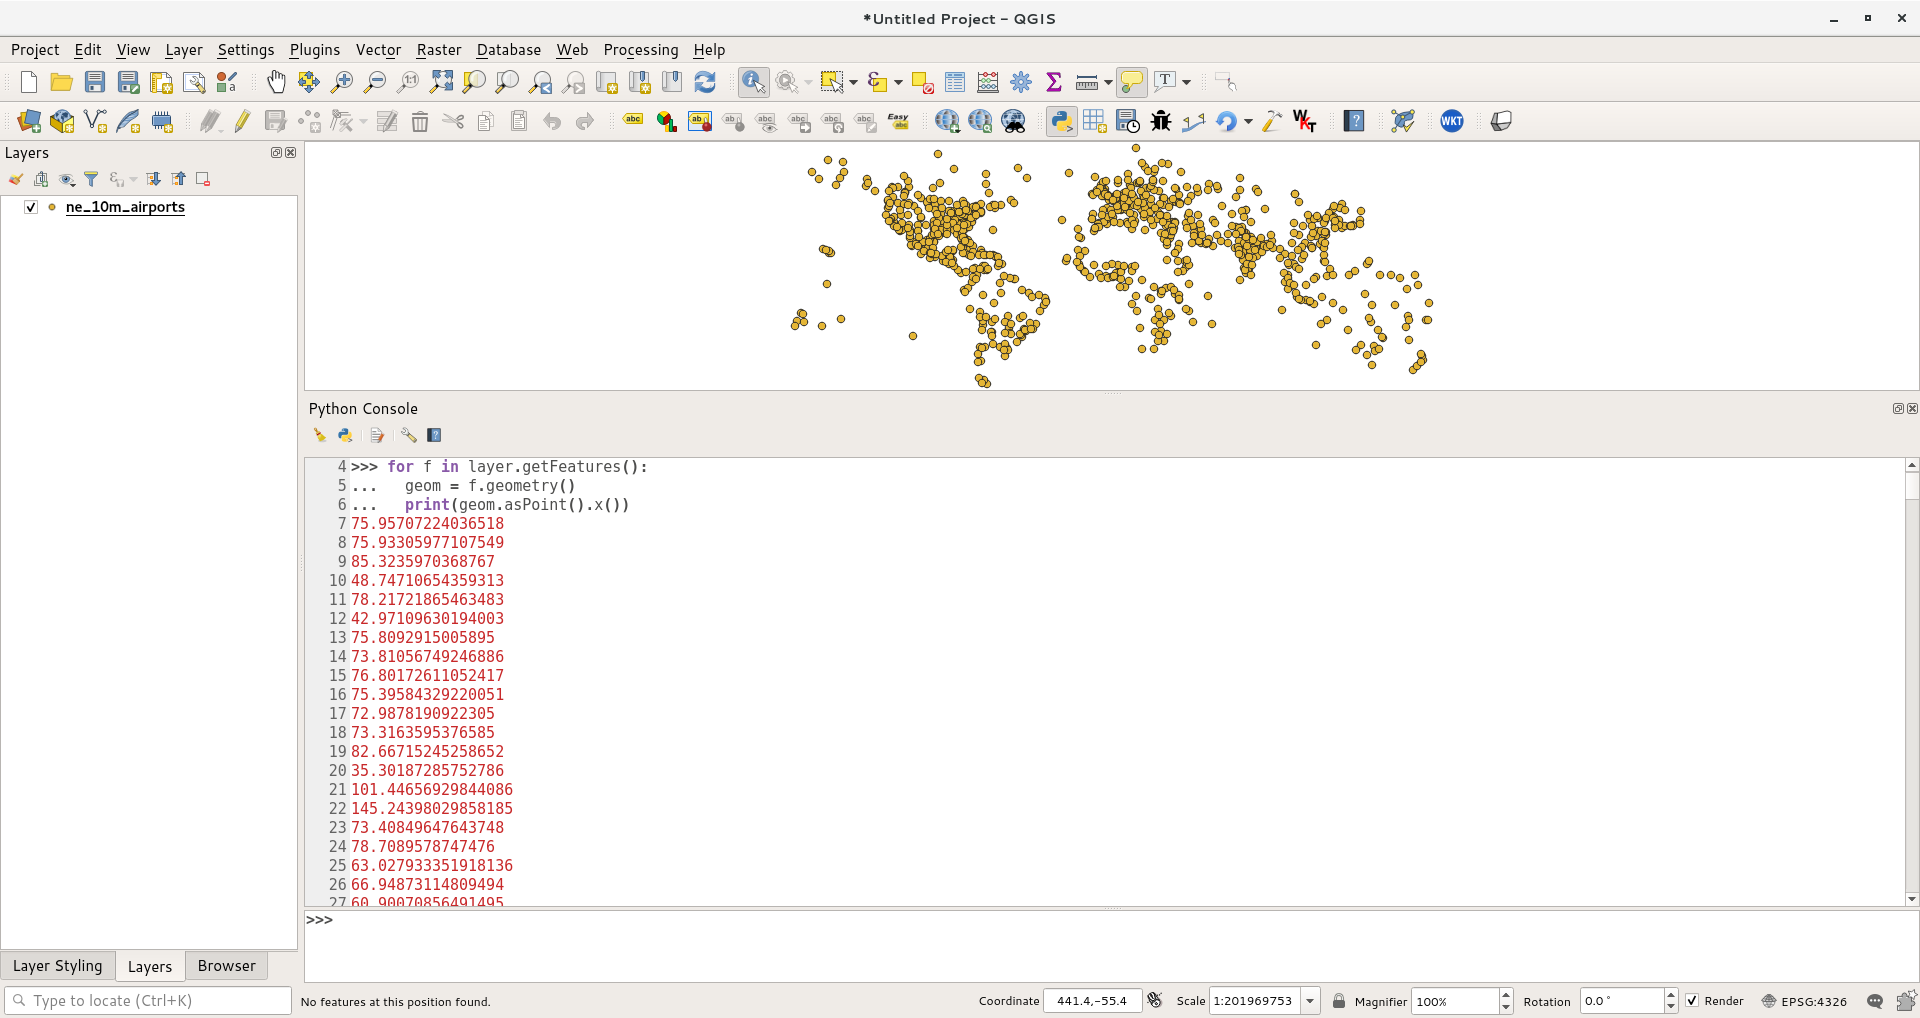
So now you know how to programatically access the attribute of each
feature in a layer. Now, let’s see how we can access the coordinates
of the feature. The coordinates of a vector feature can be accessed
by calling the geometry() function. This function returns a
geometry object that we can store in the variable geom. You can
run asPoint() function on the geometry object to get the x and y
coordinates of the point. If your feature is a line or a polygon,
you can use asPolyline() or asPolygon() functions. Type the
following code at the prompt and press Enter to see the x and y
coordinates of each feature.
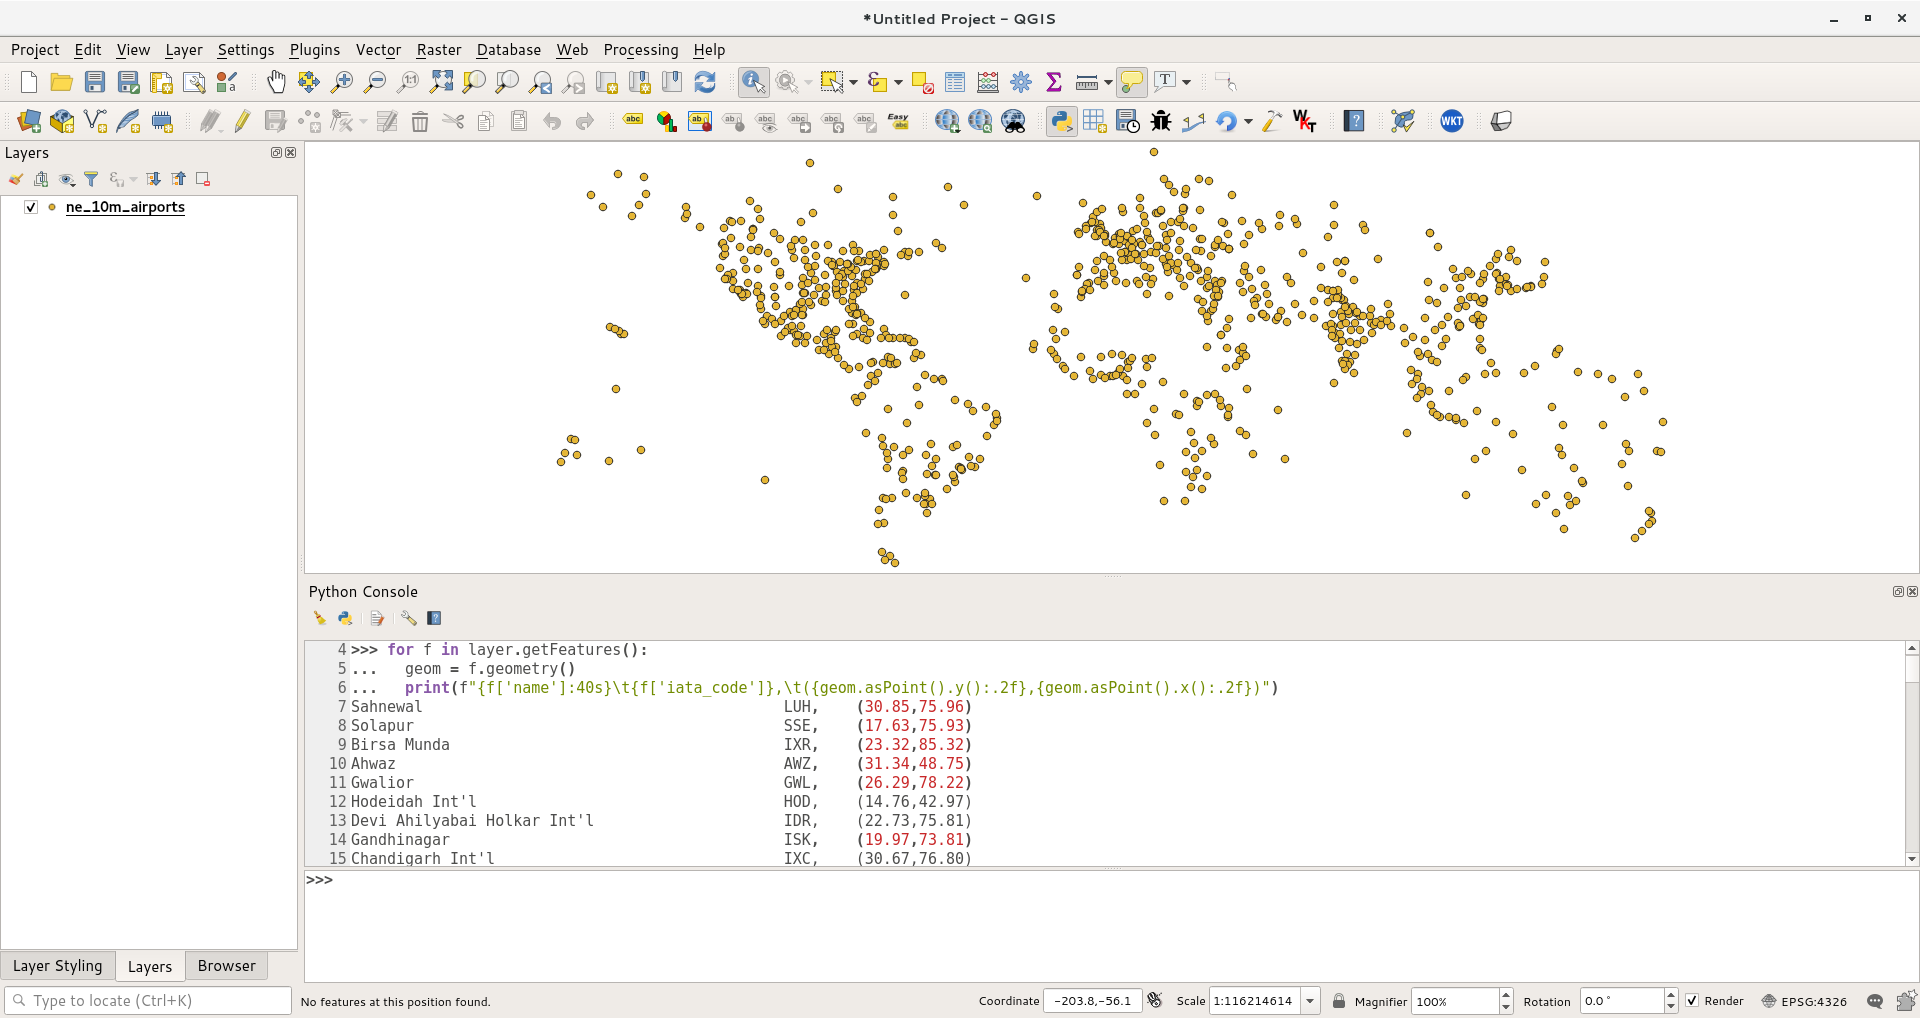
Now we have all the pieces that we can stitch together to generate
our desired output. Type the following code to print the name,
iata_code, latitude (Y) and longitude (X) of each of the airport
features. The %s and %f notations are ways to format a
string and number variables.
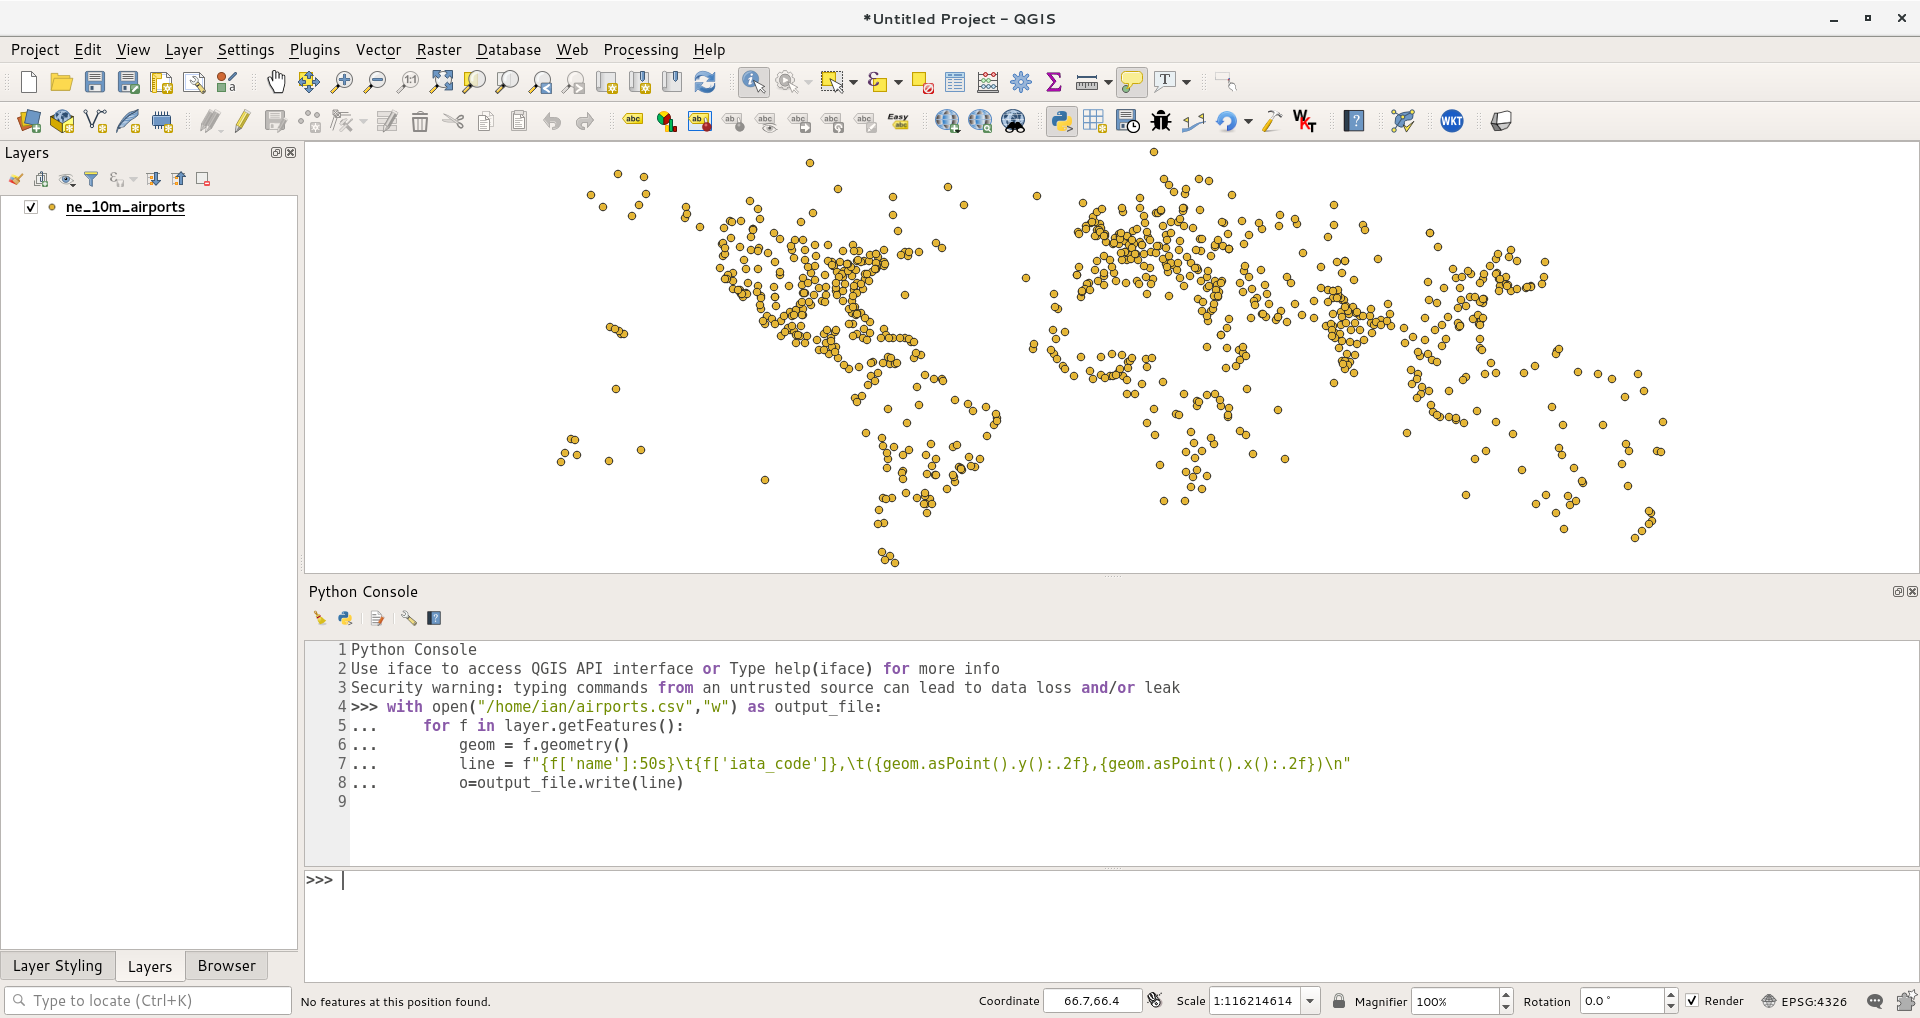
You can see the output printed on the console. A more useful way to
store the output would be in a file. You can type the following code
to create a file and write the output there. Replace the file path
with a path on your own system. Note that we add \n at the end
of our line formatting. This is to add a newline after we add the
data for each feature.
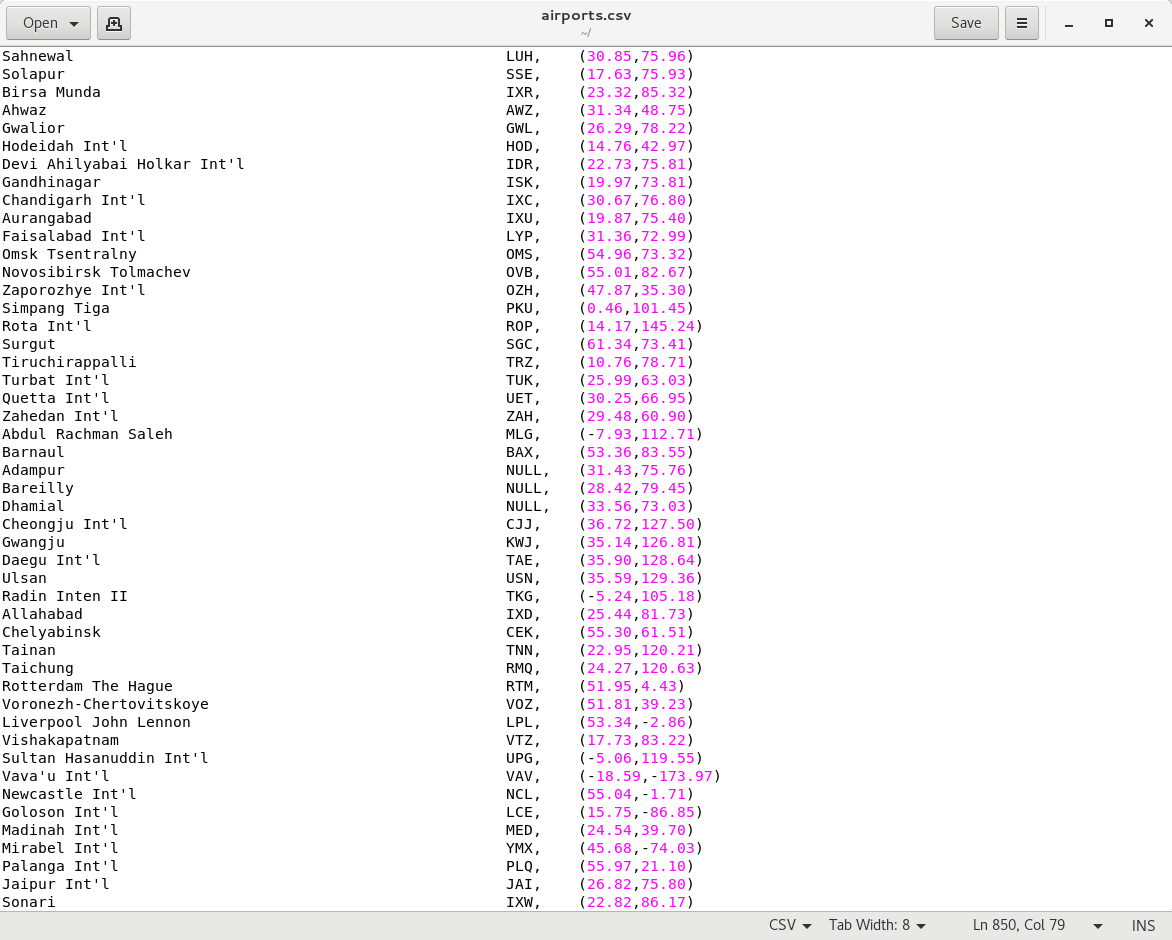
You can go to the output file location you specified and open the
text file. You will see the data from the airports shapefile that we
extracted using python scripting.